Secure Remote Access (VPN)
The Secure Remote Access service provides students and staff with the ability to connect to restricted University resources while off campus or using Eduroam. The service encrypts traffic between a user's computer and the University's network. These instructions explain how to use the Pulse Secure Client with the Secure Remote Access service. When you are off campus, the Secure Access Portal/VPN is the recommended method for accessing departmental databases, servers and other university IT resources that reside behind network firewalls.
Requirements
Windows 7 or later can connect with a compatible web browser. Web Browsers supported by Swansea University are Chrome, IE or Firefox.
Using the Remote Access Service
Important:You must have already registered Google Authenticator; see the Secure Remote Access Two Factor Authentication guide on how to register. These instructions have been created using the Google Chrome web browser.
To use the Swansea University Remote Access Service:
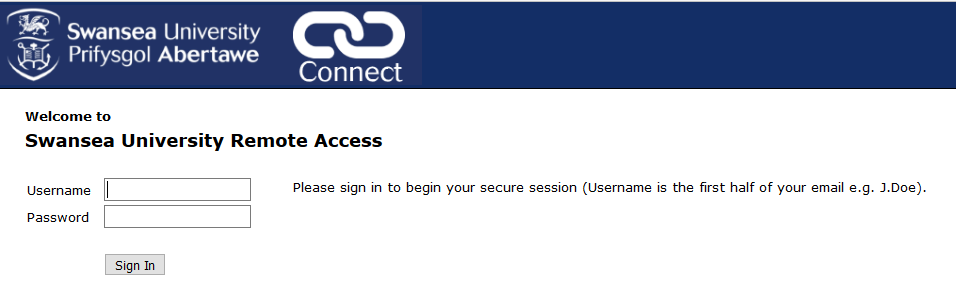
- In a web browser, go to https://connect.swan.ac.uk
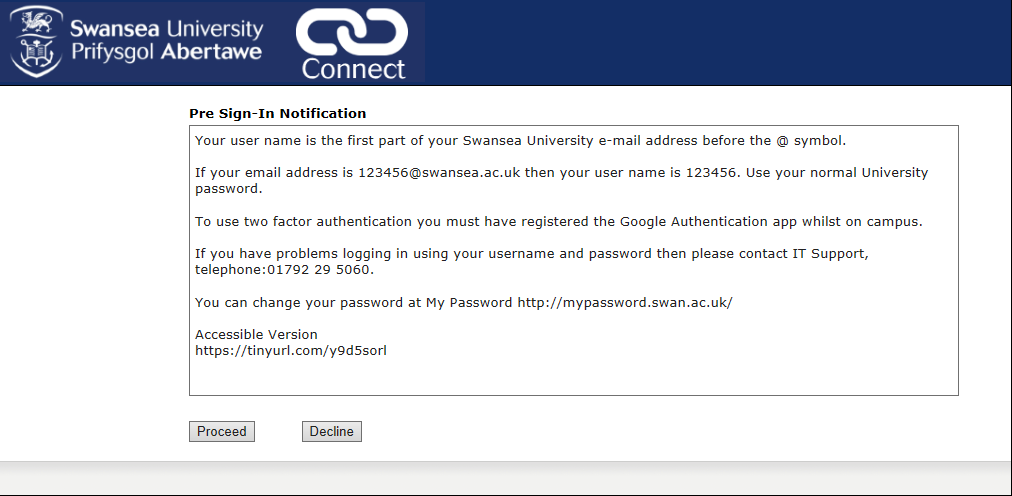
- You will be presented with a Pre Sign-In Notification, click proceed
- Log in with your Swansea University username and password
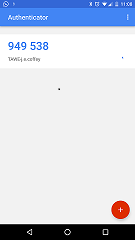
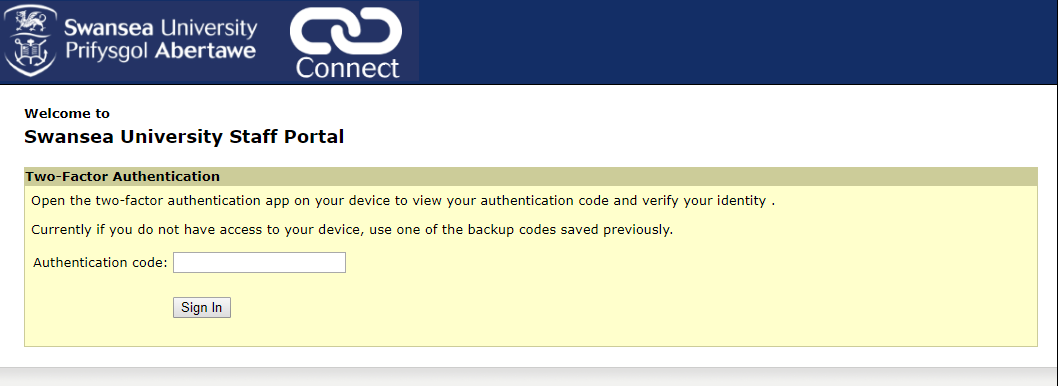
- Open the Google Authenticator app on your smartphone/tablet device to see the six digit number
- Enter the six digit number on the next screen and click Sign In
- On the next it will start to load the Host Checker component which requires the application launcher
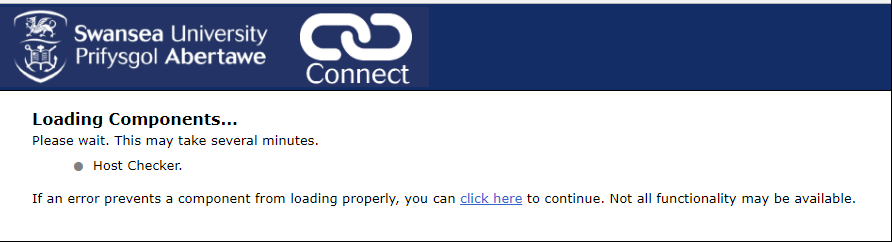
- After a short period the screen will prompt for the application launcher to be installed, click Download when it appears

- In the bottom right hand corner of Chrome you will be prompter to keep or discard the PulseSecureApplicationLauncher.msi file, click keep

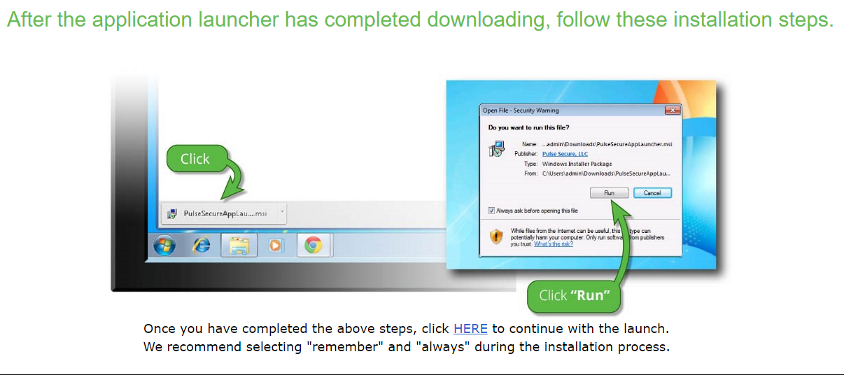
- Once the file has download follow the instructions on screen
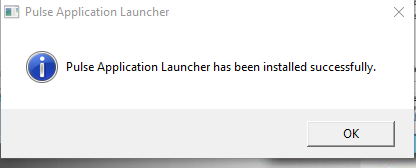
- Once the installation is complete click OK
- Then click on HERE to continue

- When prompted by Chrome click in the box to remember the choice the click on Open Pulse Secure Application Launcher

- Once the application launcher is installed the Host Checker component will install and you will be prompted to allow admin access to install the component.
- Under Client Application Sessions Click the Start Button and when prompted enter the admin credentials or allow the installer to have access to install the Pulse Secure.

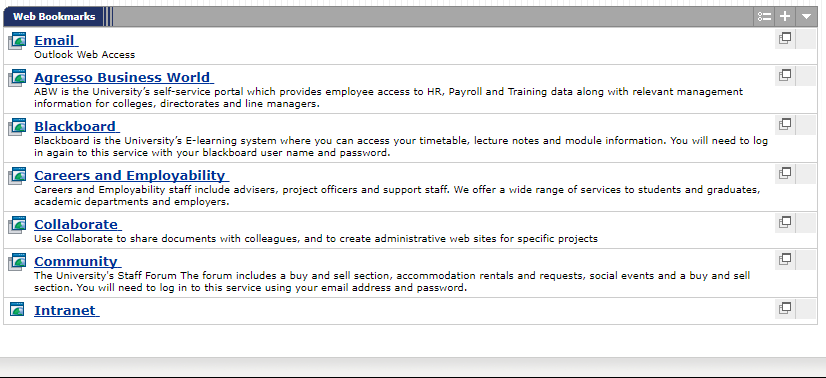
- You will also notice when you have logged in the Web Bookmarks section where you can access web resources securely without having to use the Pulse Secure Client VPN or you can use the VPN and Web Bookmarks at the same time.